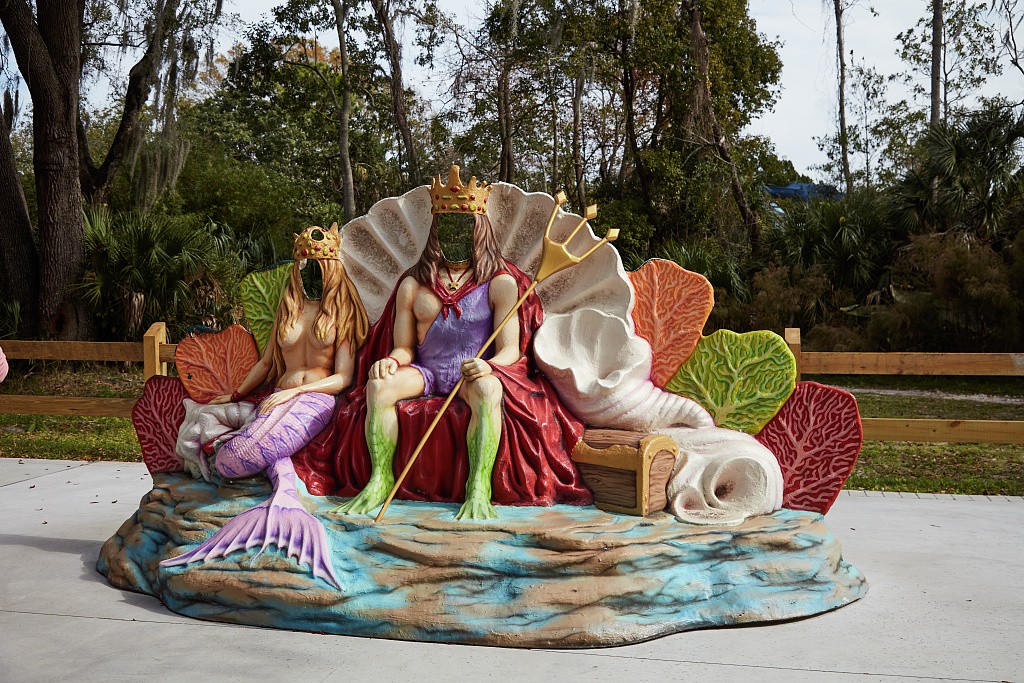
A sweeping sculpted branch can draw shoppers toward a handbag and still hide its clasp from the sidewalk. It can also leave the display team lifting the whole branch every time the bag changes. Before commissioning a custom resin prop, give the fabricator two views of the same window: what shoppers need to see through the glass and how staff will take the next product out.
Map the product from both sidewalk approaches
Start with the actual merchandise on its intended support. For a handbag, the handle, opening and side profile may distinguish it from the rest of the collection. For a coat, it might be the collar and cut of the shoulder. Ask the buyer which feature a shopper needs to see. Mark that feature on a photograph of the window taken from outside.
Take a second photograph from the direction most shoppers approach and a third from the opposite side. Keep the window frame in each shot. A sculpted branch that sits neatly beside a bag in the front elevation can pass across its handle in the approach view. Mark where the two outlines first meet. That gives the sculptor a precise correction, such as shortening one branch, without shrinking the whole piece.
Specify the resin profile within the available depth
A front elevation can make two proposals look identical. Ask for a plan view showing the glass, product, sculpture, backing and access opening. Measure the deepest projection, including its base. A flower head may sit comfortably behind a shoe while a petal curves forward far enough to hide the toe.
A shallow relief works well when the sculpture sits against a back panel and shoppers see mainly its front. Raised edges can suggest volume while leaving space for merchandise in front. Request a side view of the relief, particularly where the window returns around a corner and its edge becomes visible.
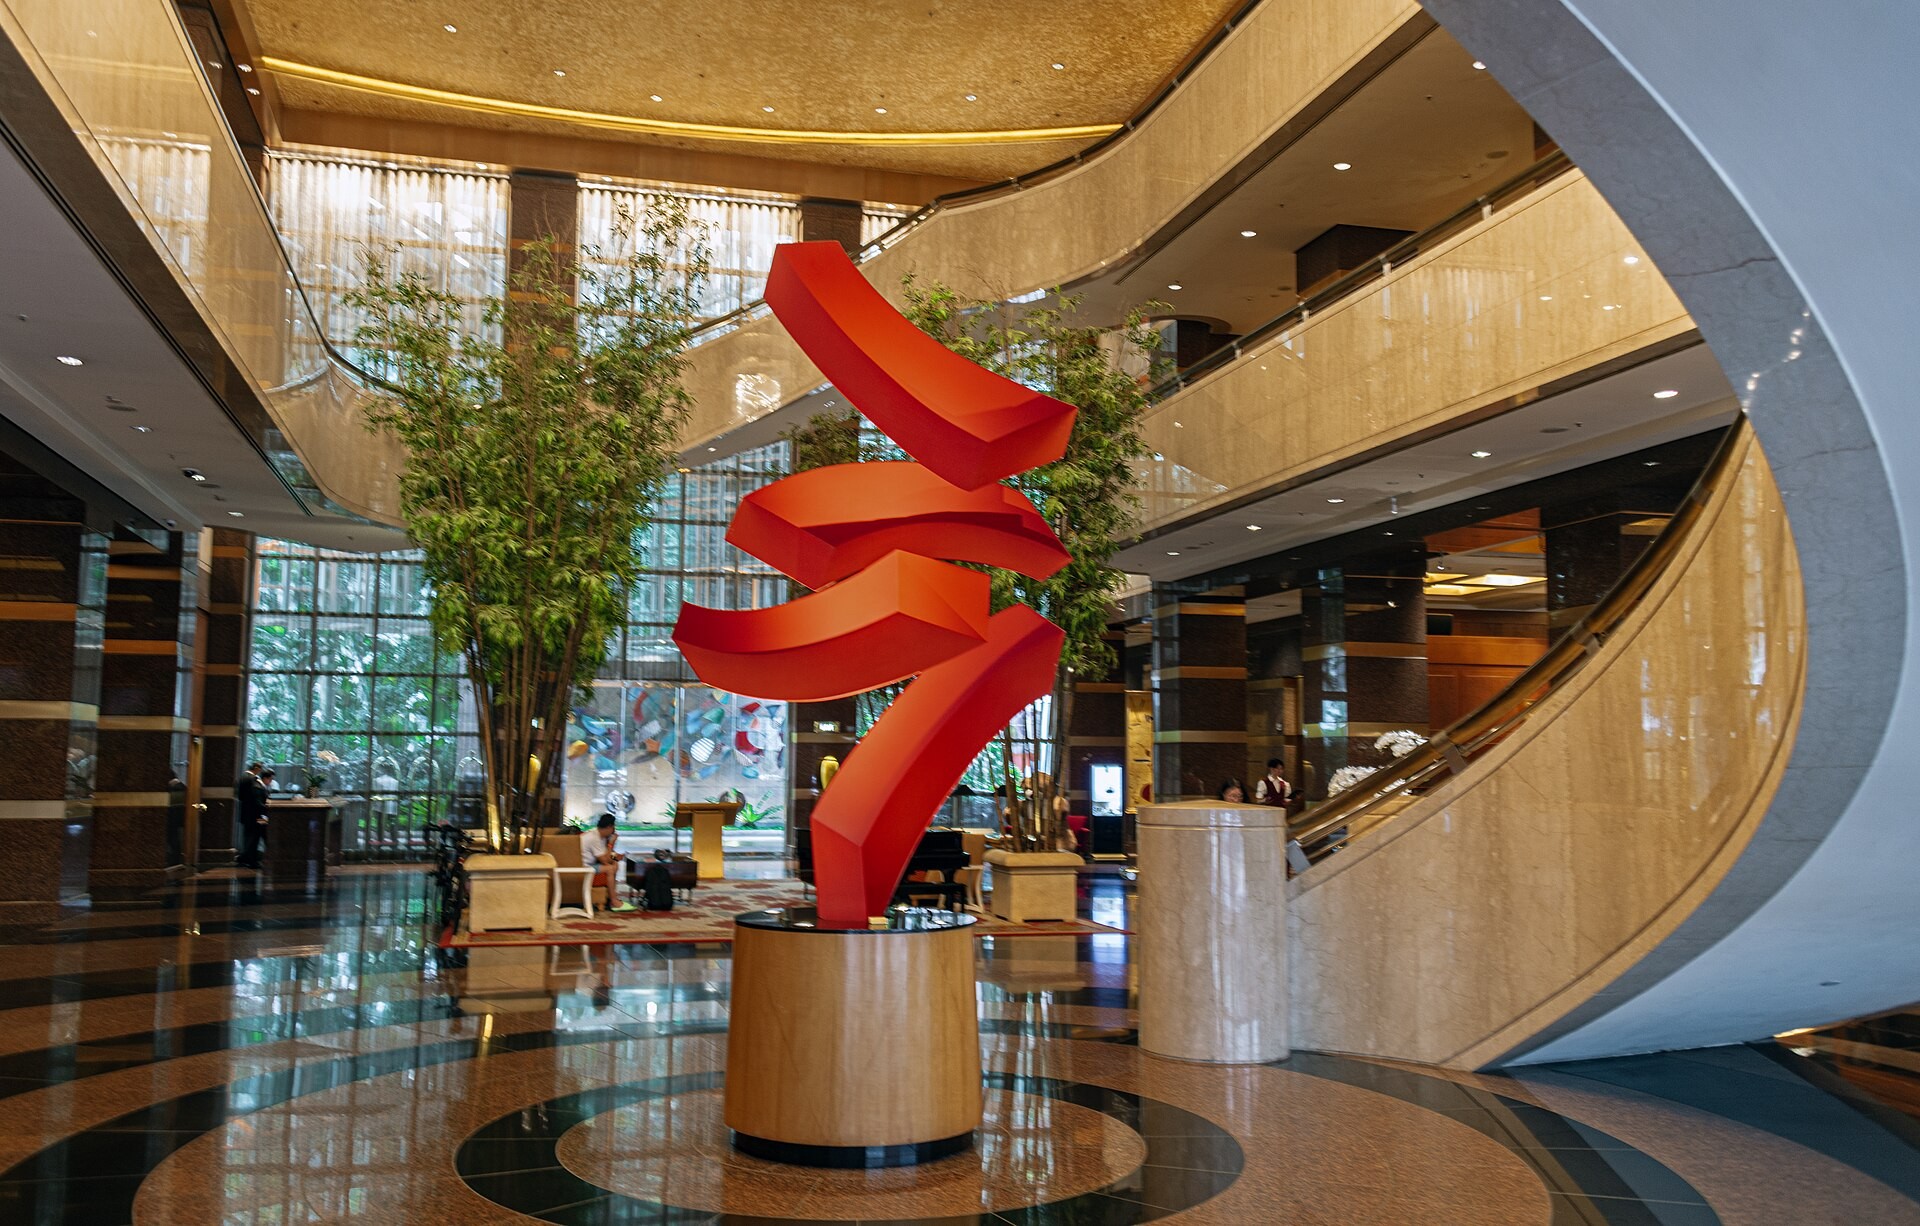
A full-round form earns its depth when another side tells the shopper something useful. For example, a sculpted ribbon might lead the eye from a bag on one plinth to a matching accessory on another. Mock up the whole curve, including the section between the plinths. If the ribbon hides the accessory on approach, a shorter return or an open section may preserve the connection.
For a branch with fine leaves, ask Pegasus to show how the edges of a custom resin sculpture will look in the proposed casting. Review a sample of the narrowest leaf and its junction with the stem. Fine surface detail can help a shallow casting suggest volume, but a thin projection is a poor place for staff to grip a removable part. Mark a handhold on the thicker stem before approving the master.
Read the window through its glass
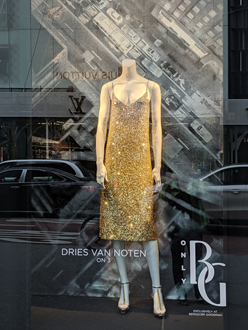
Place the darkest and lightest product variants against a sample of the proposed sculpture finish. Look from outside while the store lights are on. A pale bag may be easy to pick out against a dark prop until a bright street reflection crosses its clasp. Turn the sample or shift the plinth and check the same detail again before changing the finish across the entire sculpture.
Build the merchandise change into the sculpture
Ask the person who dresses the window to replace one item with the largest item planned for the same position. Use a full-size cardboard outline of the sculpture and its base if the finished piece is still on the drawing board. Have the dresser enter through the actual access opening, lift the product clear of its support, turn it and take it out. The space a bag occupies on display can be considerably smaller than the space the dresser needs to lift it by its handles.
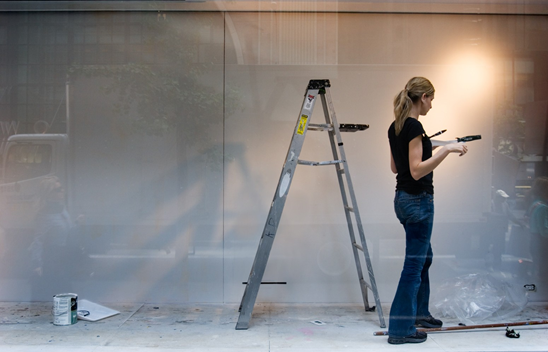
If the dresser can reach a shoe but cannot withdraw its stand, first try moving the stand sideways. If one sculpted branch still blocks the route, make that branch the removable component. The rest of the display can stay dressed while the shoe changes.
Ask for a 3D model showing the fixed base, detachable branch and largest replacement product in the same window. Have the fabricator show the branch halfway out as well as fully installed. A joint that needs an upward lift may look tidy in the assembled view yet be impossible to release beneath a shelf. Agree the withdrawal direction before mould-making.
On the assembly drawing, identify what locates the branch and what holds it in place. A locating pin can return its tip to the approved sightline. A separately retained fixing, accessible from the staff side, can secure it there. Ask the fabricator how the connection is reinforced inside the casting and whether store staff need a tool. A display team should be able to find the release without feeling around a painted leaf.
Include the base in the installation brief. Give Pegasus the window deck material, any restrictions on drilling and the opening through which each component must pass. Ask for a proposed support and fixing arrangement for those conditions. Before dispatch, request a trial assembly with the actual hardware: seat the base, remove and refit the branch, then photograph its tip against the agreed product outline. That check gives the installer a reference for the first setup and the dresser a reference for the next change.
What to send for a sculpture proposal
Send a dimensioned plan of the bay, exterior photographs from both approaches, the product arrangement and the size of the largest replacement item. On one photo, circle the product feature that must stay visible. On the plan, mark the opening staff use and the route the product takes out of the window.
Planning a resin window display? Send Pegasus your window dimensions and merchandise arrangement so Pegasus can propose a casting profile, component split and base suited to your next merchandise change.